 A couple of years ago I met the Raspberry Pi and, since then, I wanted to have one. The time passed, and Raspbery Pi 2 was released, and then Raspberry Pi 3 came out, and Raspberry Pi Zero too, and I was still without my own Raspberry... After about 3 years, I bought one! I have a Raspberry Pi 2 Model B since about 2 month ago, and, for time reasons, I haven't been able to use it, or even prepare it. So now, that I'm going to get down to work with it, I'm going to write a little guide about how to install Fedora on the Raspberry, this time, using Fedora Workstation (with GNOME), I will publish a guide for doing this by CLI later.
What is Raspberry Pi?
We can say that it's a micro-computer, as summarize, but if we want to extend the explanation, we can say that it's a "single-board computer" (or SBC), that means that is a complete computer mounted on a single board.
All Raspberry Pi models have a credit card size (except Raspberry Pi Zero, that is half a size), this makes Raspberry widelly used for IoT (Internet of Things) projects; Also, these have HDMI output, USB, ethernet connection (RPi3 has onboard WiFi).
Powering is via microUSB (worst invention in recent years :-P), always with 5V, but the amperage varies according to the RPi version. Finally, it has no storage, it has a microSD slot where a card must be inserted with the OS that will be used.
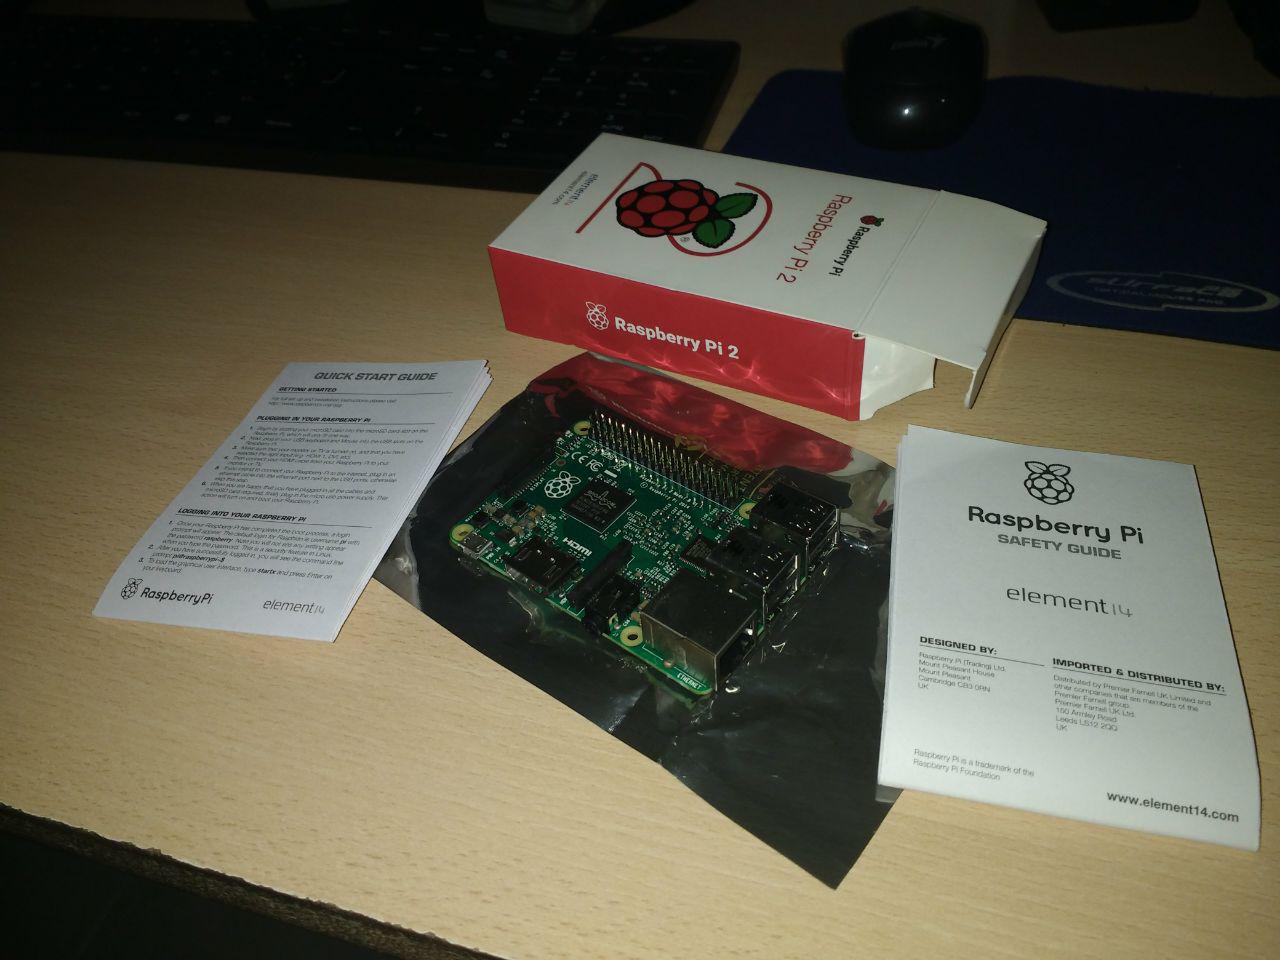
In this case, we will make a Fedora Minimal installation on a Raspberry Pi 2 Model B, we will prepare everything using a computer with Fedora Workstation.
What are we going to need?
- Raspberry Pi (2 or 3):
Obviously, we're going to need a Raspbery. Why 2 or 3? Because, for this case, we are going to use Fedora Media Writer, which, among its options, is only compatible with those versions. - Power supply:
According to the RPi version that we use, we will need a different power supply (for covering electrical consumption). A 5V 2.5Amp power supply will be enough for any of this 2 versions, while, a RPi2 works ok with a 5V 2Amp supply - MicroSD flash memory:
As i explained earlier, Raspberry Pi boots the OS from a microSD, therefore, a microSD card of at least 8GB is needed. I also recommend this to be "class 10" or higher. For this example, we are going to use a 16GB class 10 memory. - HDMI wire (and display, obviously):
While Raspberry Pi have an analog audio+video output, I'm sure you have an HDMI compatible display (TV or PC display). To use it, we obviously need an HDMI wire. - USB keyboard:
We're going to need an USB keyboard to control the Raspberry Pi before we get remote access. Depends on the purpose of the RPi, maybe we also need an USB mouse. - USB WiFi Dungle:
If we can't establish a wired connection, we can use a USB WiFi dongle to connect to a network/internet. - Fedora ARM image:
Been Raspberry Pi a device with ARM processor, we need to download a Fedora image prepared for ARM. In this case, as I said before, we are going to use the "minimal" version, due to the capacity of the flash memory. -
Fedora Media Writer:
Fedora Media Writer is a software designed to create booteable memories and USB sticks, we're going to use it just for that, create a booteable microSD with Fedora inside.
Using Fedora, the installation can be made via "Software" application, or via CLI with the command:# dnf install mediawriter -
GParted:
GParted is a GNOME compatible partition editor, we're going to use it to modify the root partition created by Fedora Media Writer.
As Fedora Media Writer, the installation can be done with "Software", or with the command:# dnf install gparted
Let's do it!
NOTE: Screenshots were taken some weeks ago, when Fedora 27 had not been released
Step 0: Download necessary files and software
Let's install Fedora Media Writer and Gparted, we can use "Software" or run this command at a terminal:
# dnf -y install mediawriter gparted
Also, we need to download the Fedora ARM image that we want, we can see the options here:
https://fedoraproject.org/wiki/Architectures/ARM/Raspberry_Pi?rd=Raspberry_Pi#Downloading_the_Fedora_ARM_image
Step 1: Create a booteable microSD with Fedora inside
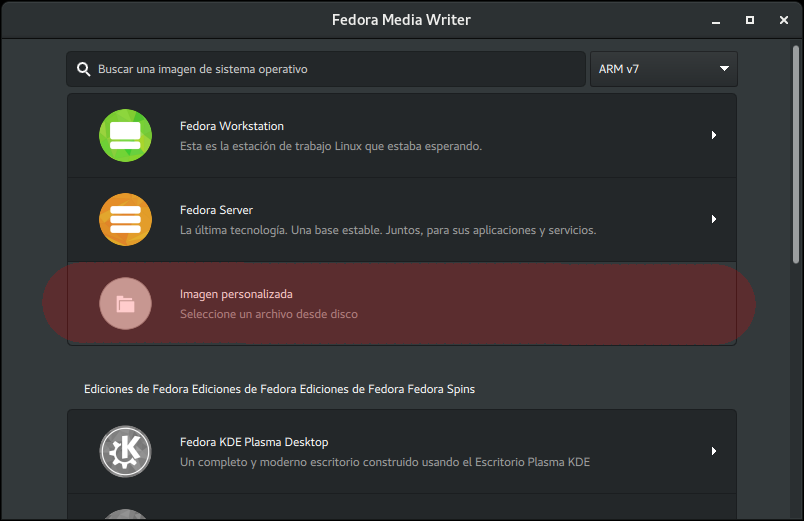
- Open Fedora Media Writer
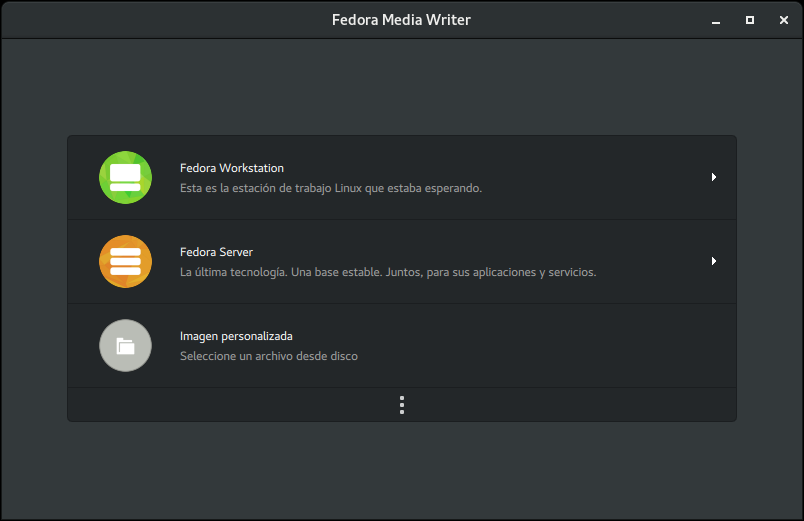
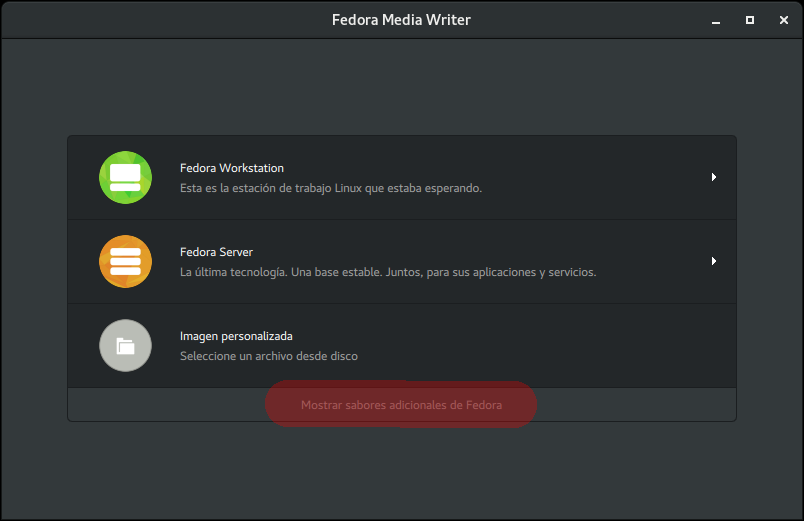
- Go to "Display additional Fedora flavors" at the bottom of the list.
- Select "ARMv7" in the list that appears at the top.
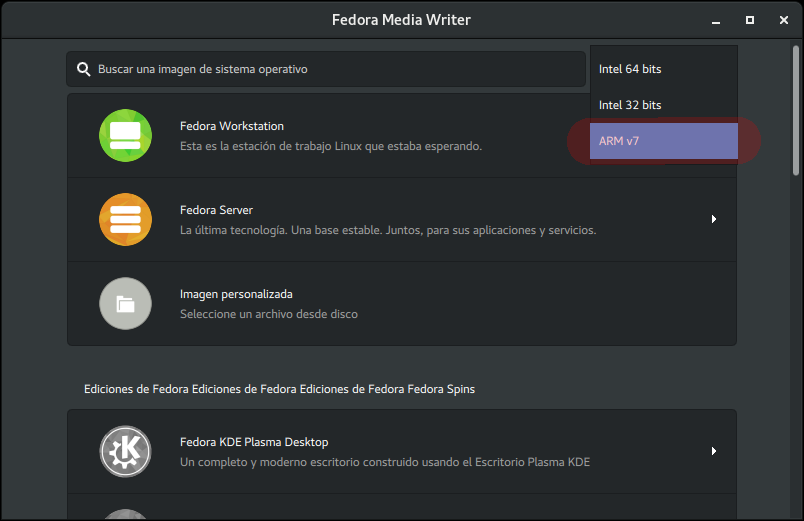
- Choose "Custom image" from the main list, and then find and select the downloaded image.
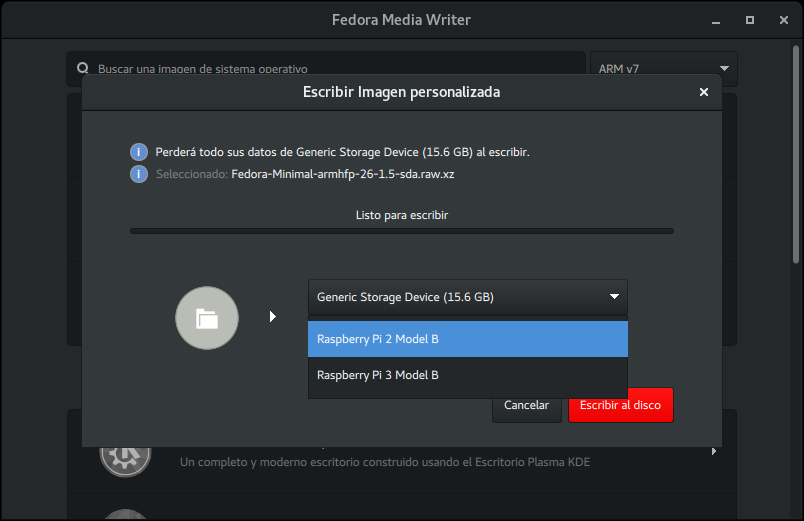
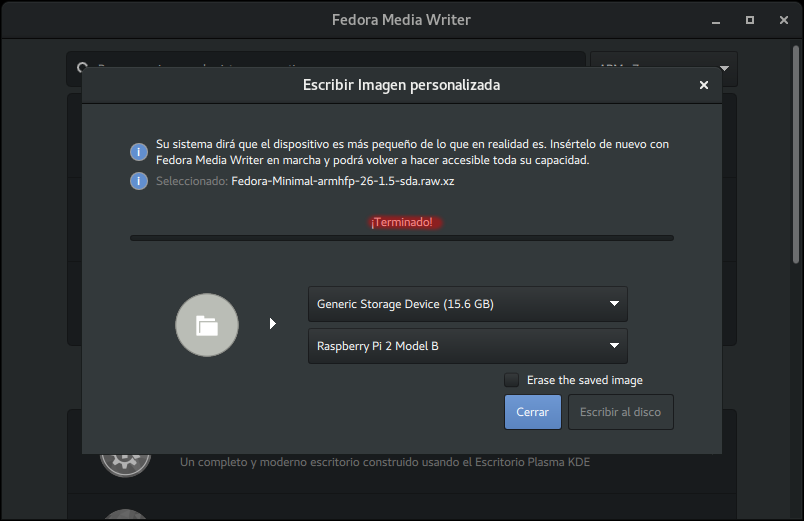
- In the appeared window, select the correct Raspberry Pi version (and, if necessary, the correct memory). Then, "Write to disk".
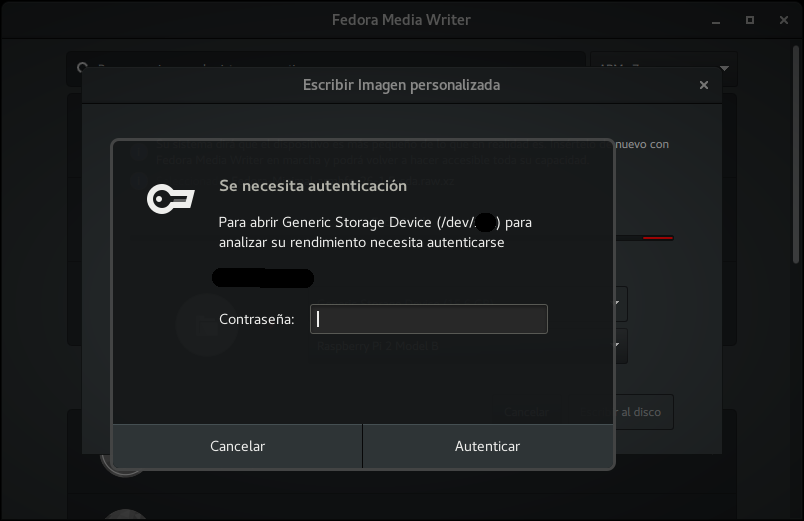
- Write the root password for allowing Fedora Media Writer to write the memory.
- Wait...
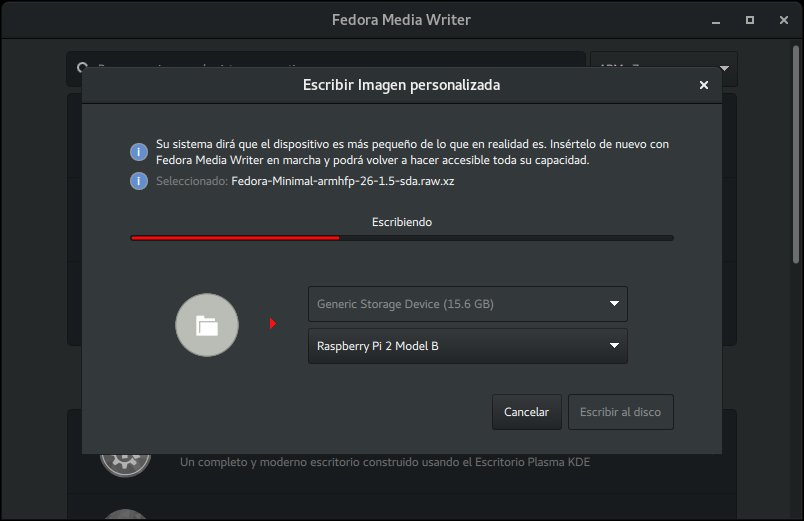
- Done!
Step 2: Modify root ("/") partition
To make the downloadable image smaller, root partition was reduced to minimun, that partition is where we'll store all files (included system files), we can now, increase the partition size or creating new partitions, in this case, we're going to increase the size.
-
Start GParted
Note: If you have problems running Gparted, there's a problem with Wayland, common and without fix yet. The solution is running this command in the terminal:$ xhost +SI:localuser:root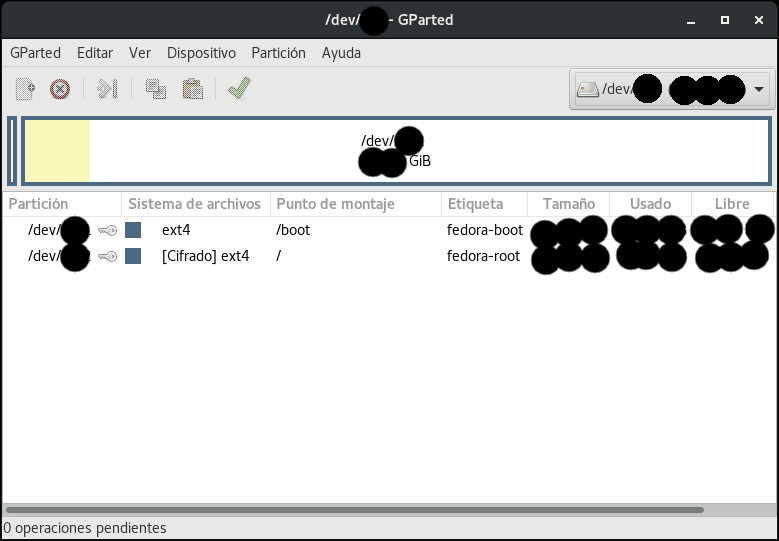 2. Select, from the device list at the top, the microSD card you're going to use.
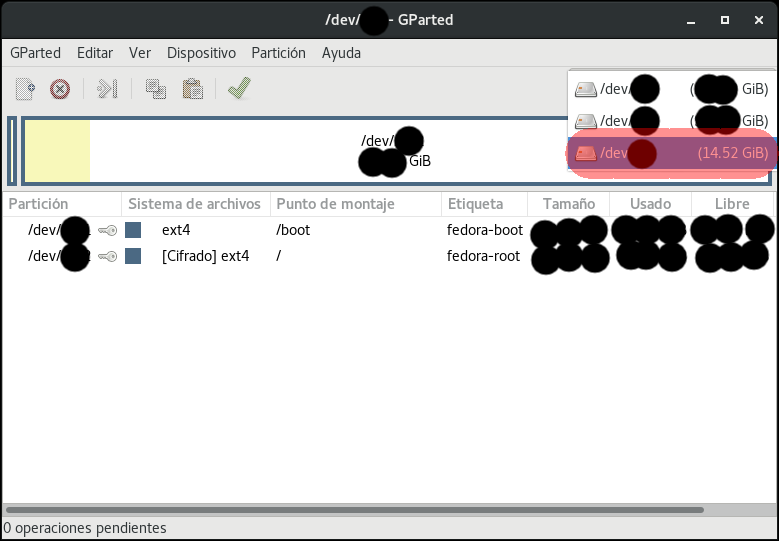
 3. Now we can see how the microSD is partitionated. In the next screenshot, the "/" partition is selected, but, if you pay attention, it's mounted (there's a key at the left), which will not allow us to modify it. We have to unmount it.
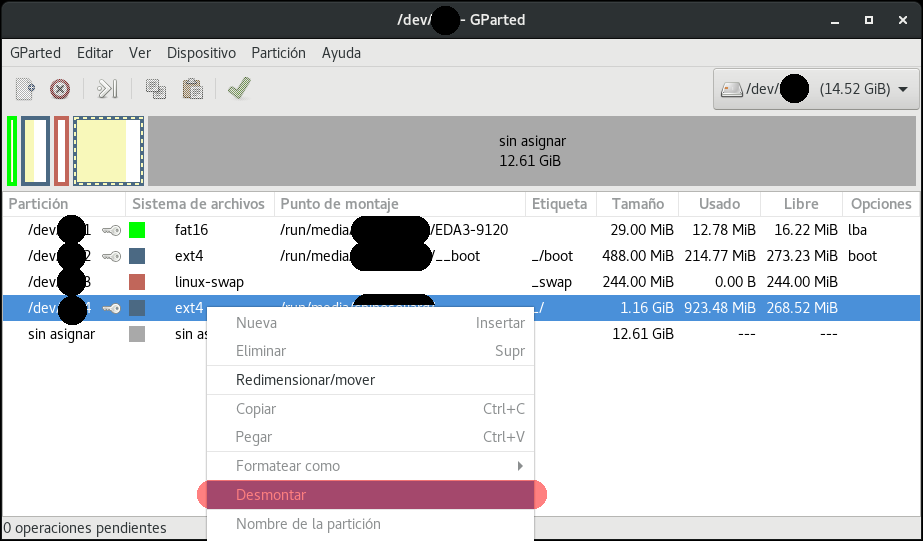
 4. Unmounting is simple as doing right click on the partition and select "Unmount", and wait some seconds until finish.
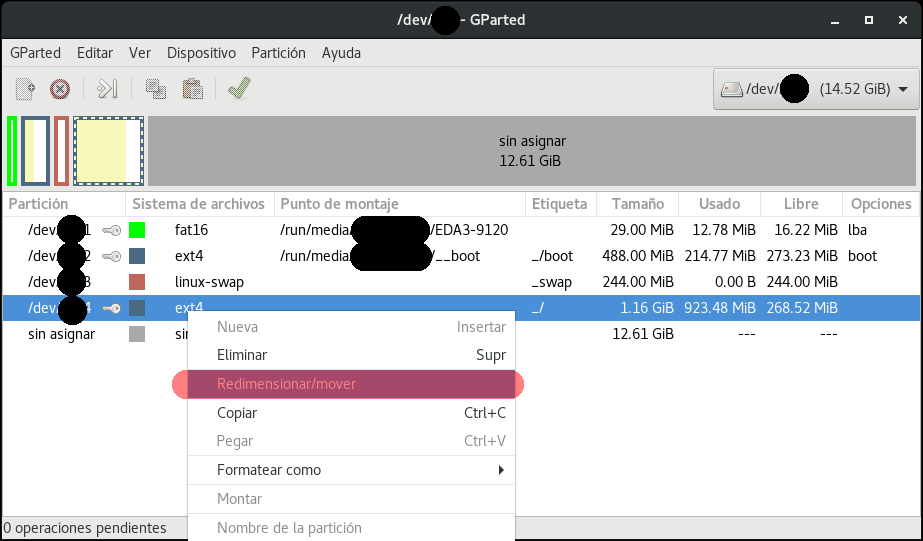
 5. Now we're able to resize the partition, to do that, left click on the partition, and select "Resize/Move".
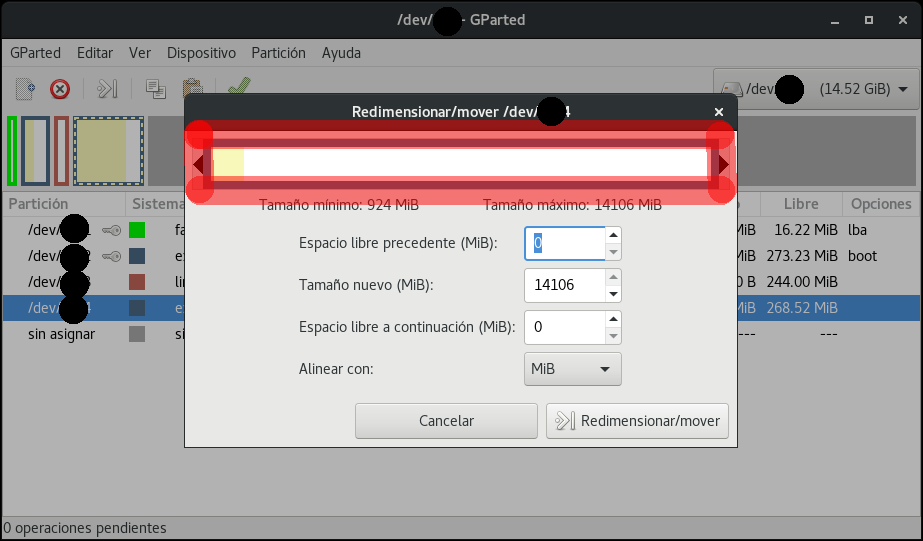
 6. In the window that appears, we've to strech the partition as much as possible (or, if we wan't to have another partition, save free space after). We're about using free space that is not assigned.
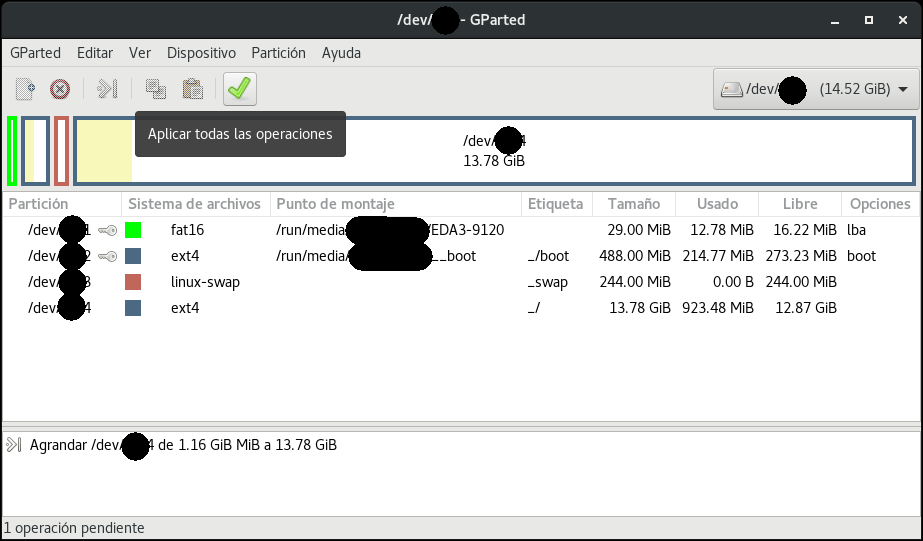
 7. After setting and accepting modifications, those will be listed in a work queue at the bottom. If we're agree with the changes, click on "Apply operations".
8. Next, it warn us that the operation can cause data lost. If we're sure about we're goint to do, "Apply".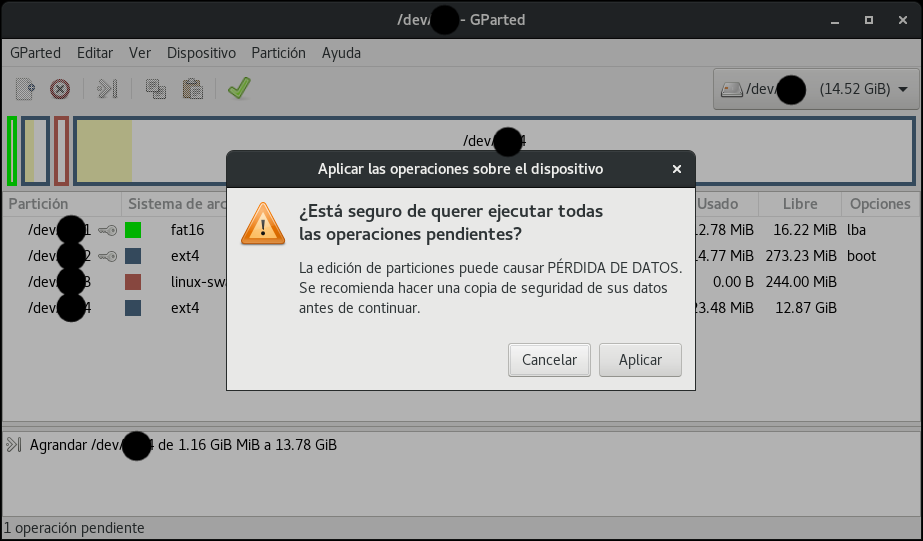
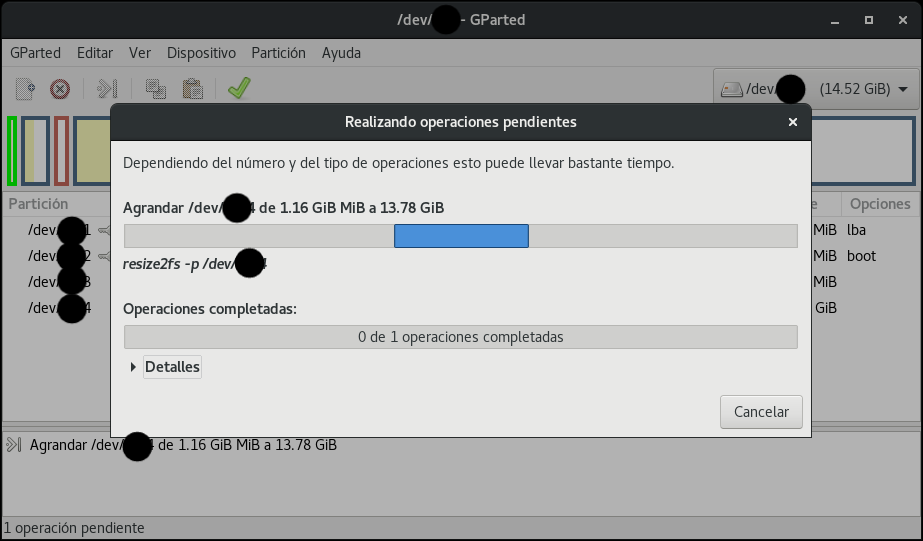
9. Wait until finish...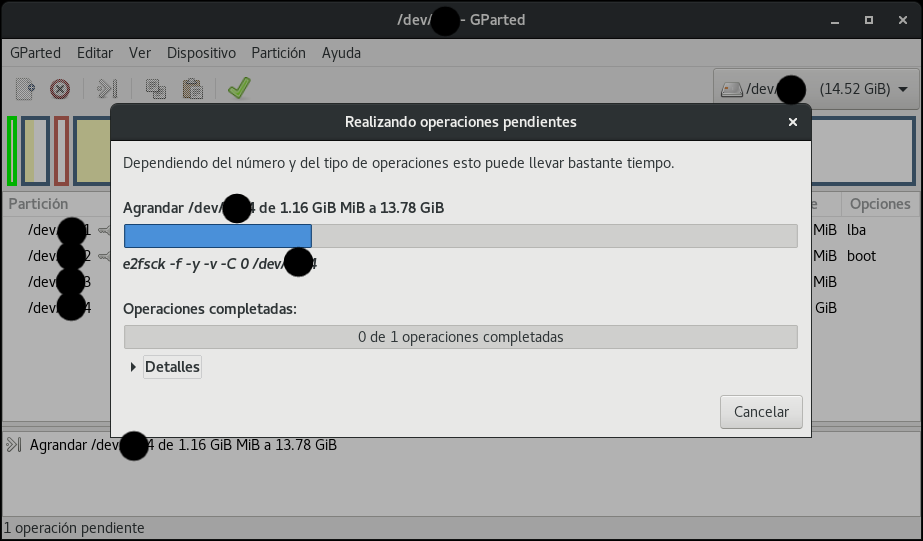
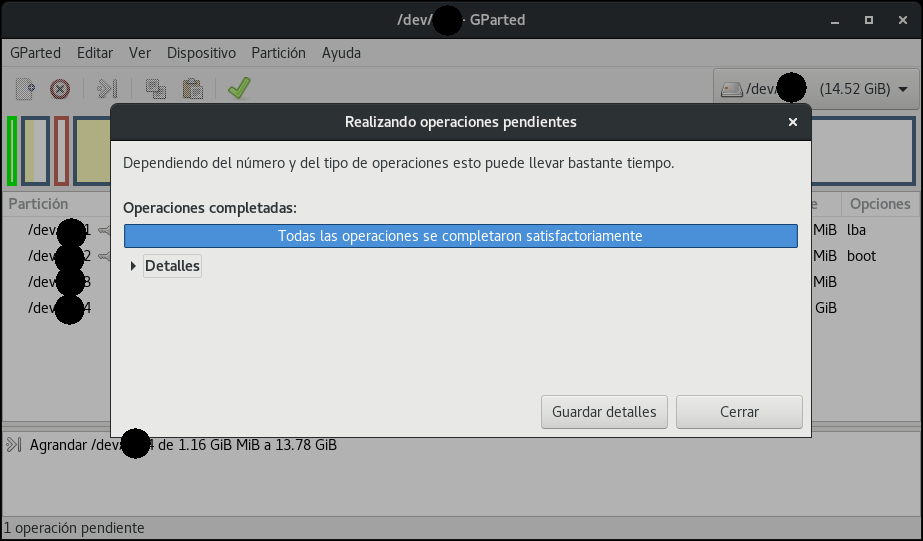
10. Now we can see the changes, and corroborate that everything is OK.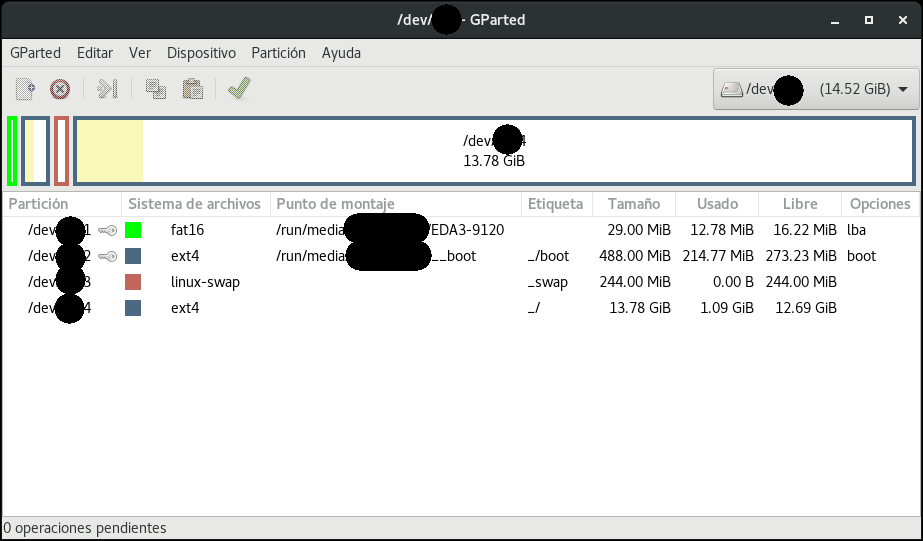
If we can see that everything is OK, now we can continue with the Raspberry.
Step 3: Starting up the Raspberry Pi
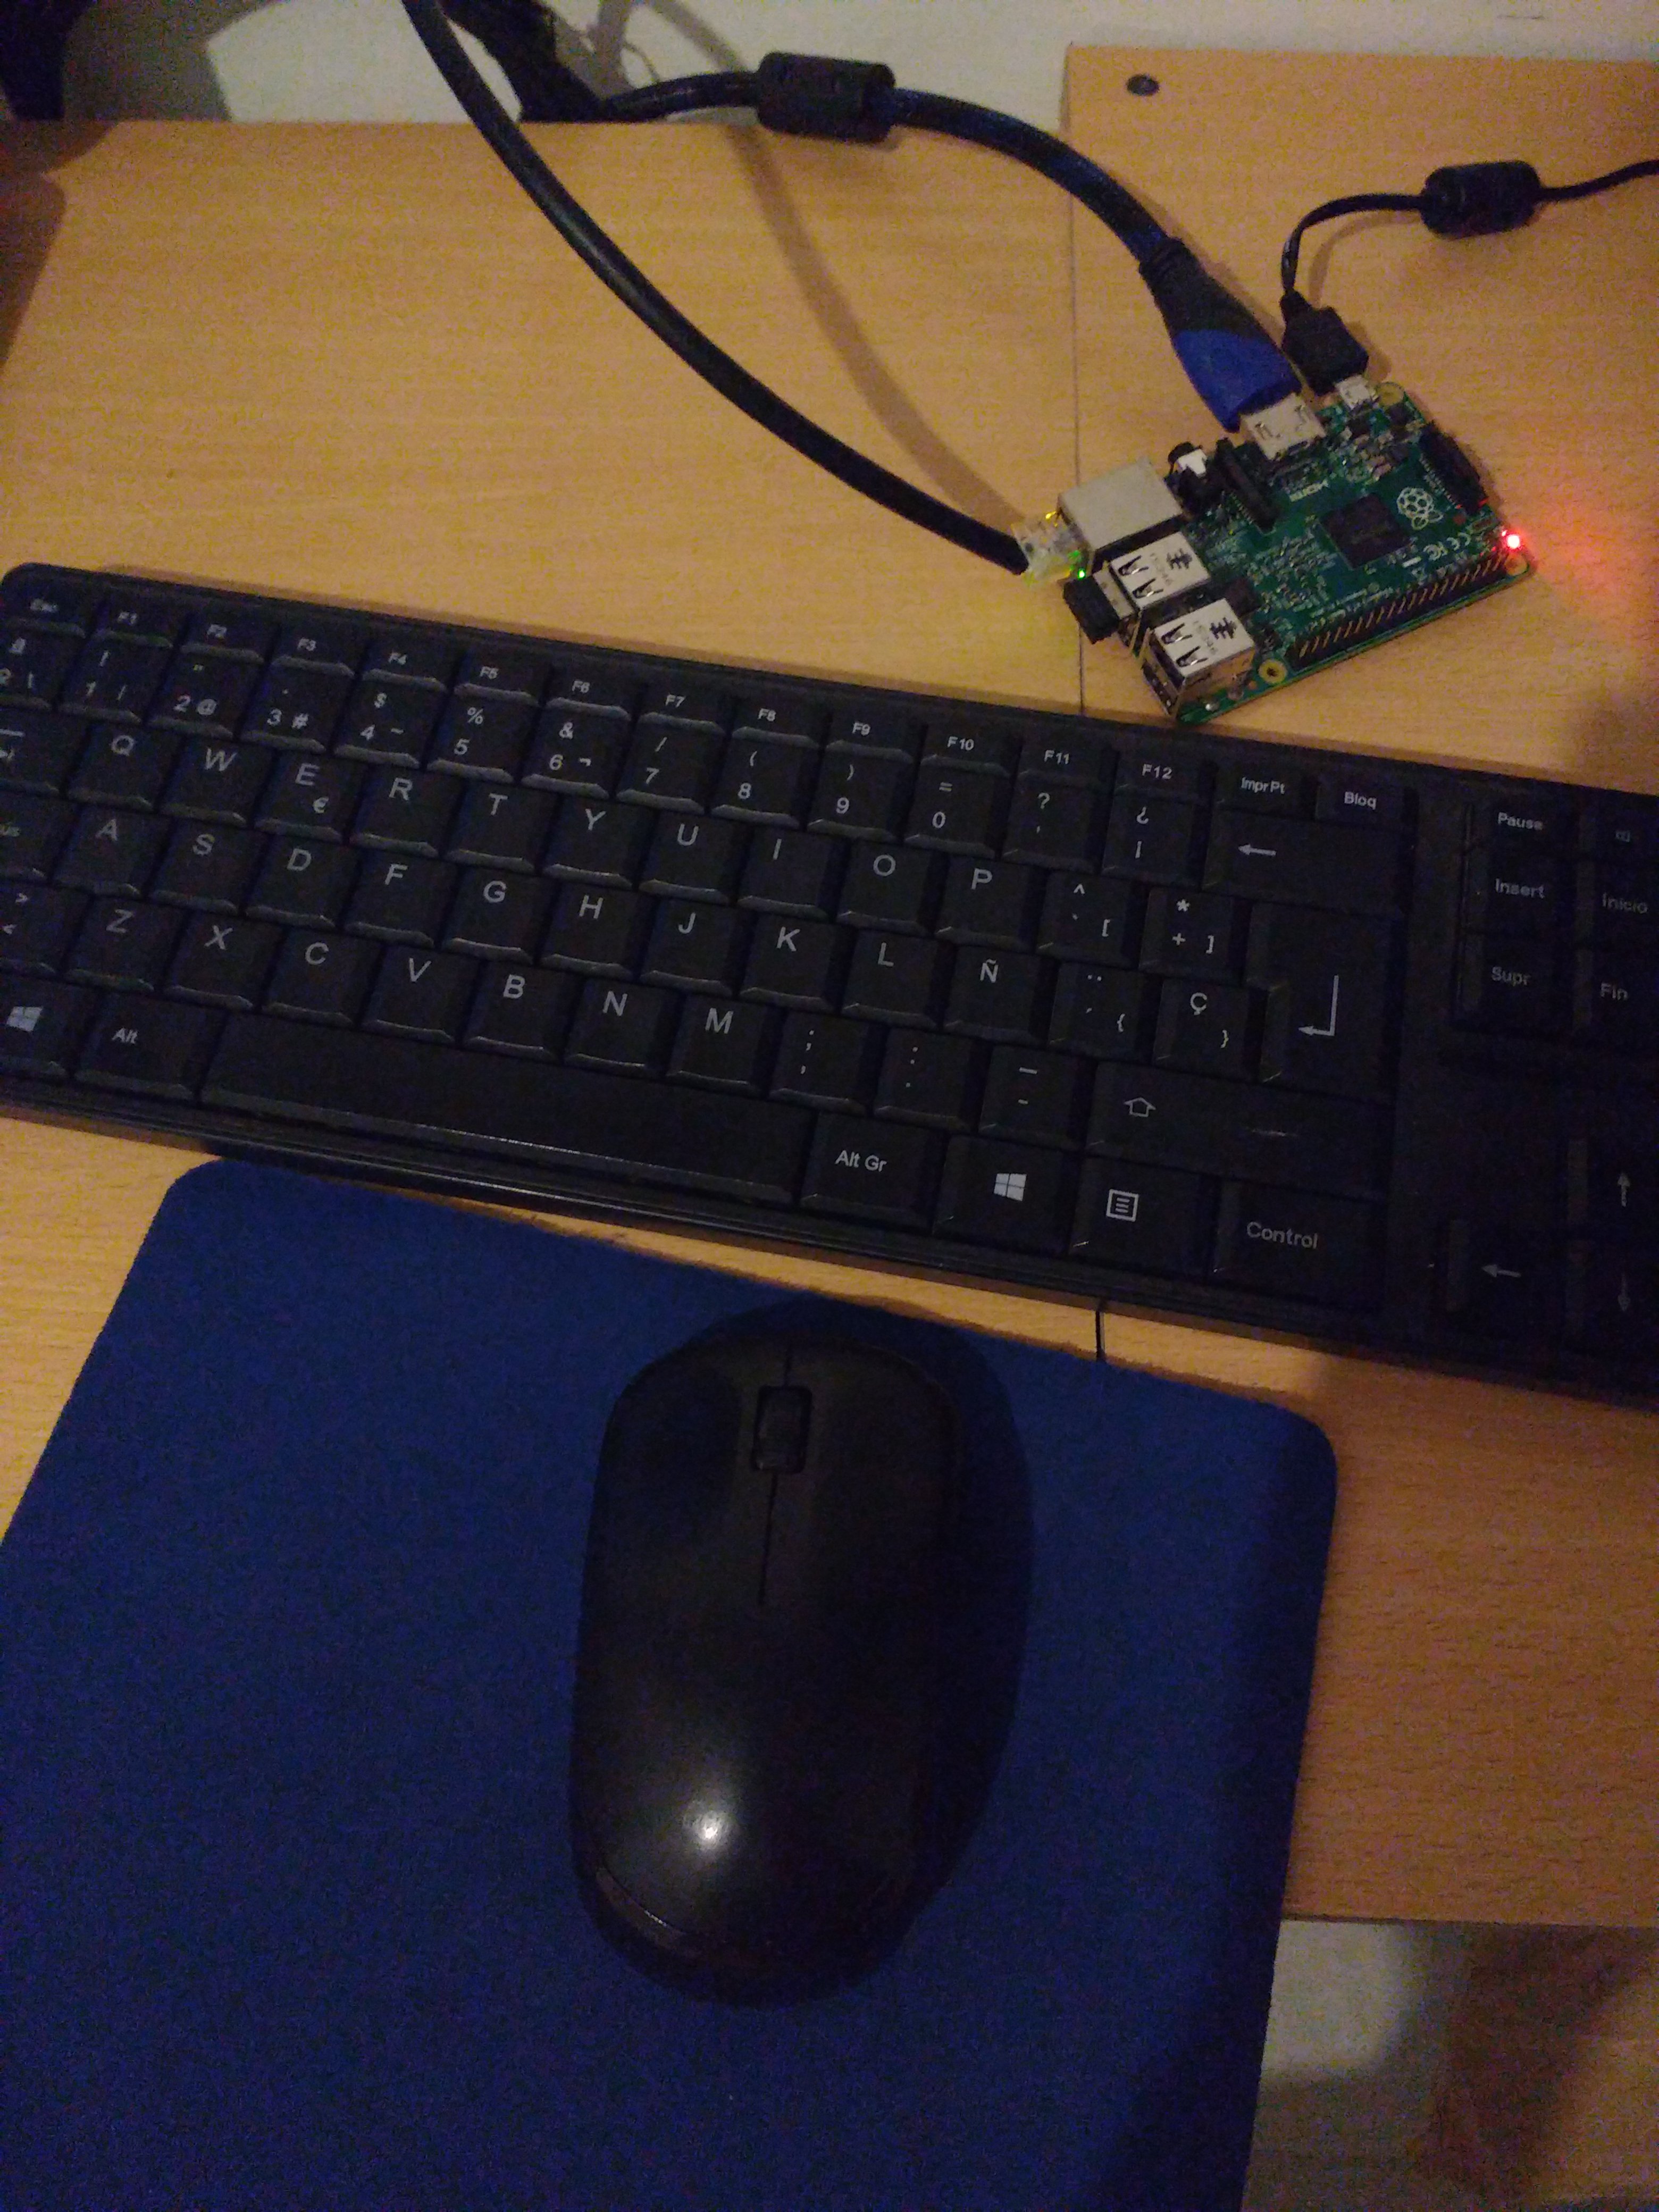
- Insert the microSD card in the Raspberry Pi.
- Connect everything neccesary (HDMI cable, network, keyboard and/or mouse, and any other needed device)
- (Last step, always!) Connect the power supply to the Raspberry (it may be connected to AC before been connected to RPi).
Step 4: Configuring Fedora
When system finish starting, it start a configuration wizard; Please, sorry for the quality of the next picture :-P (It looks better on my phone).
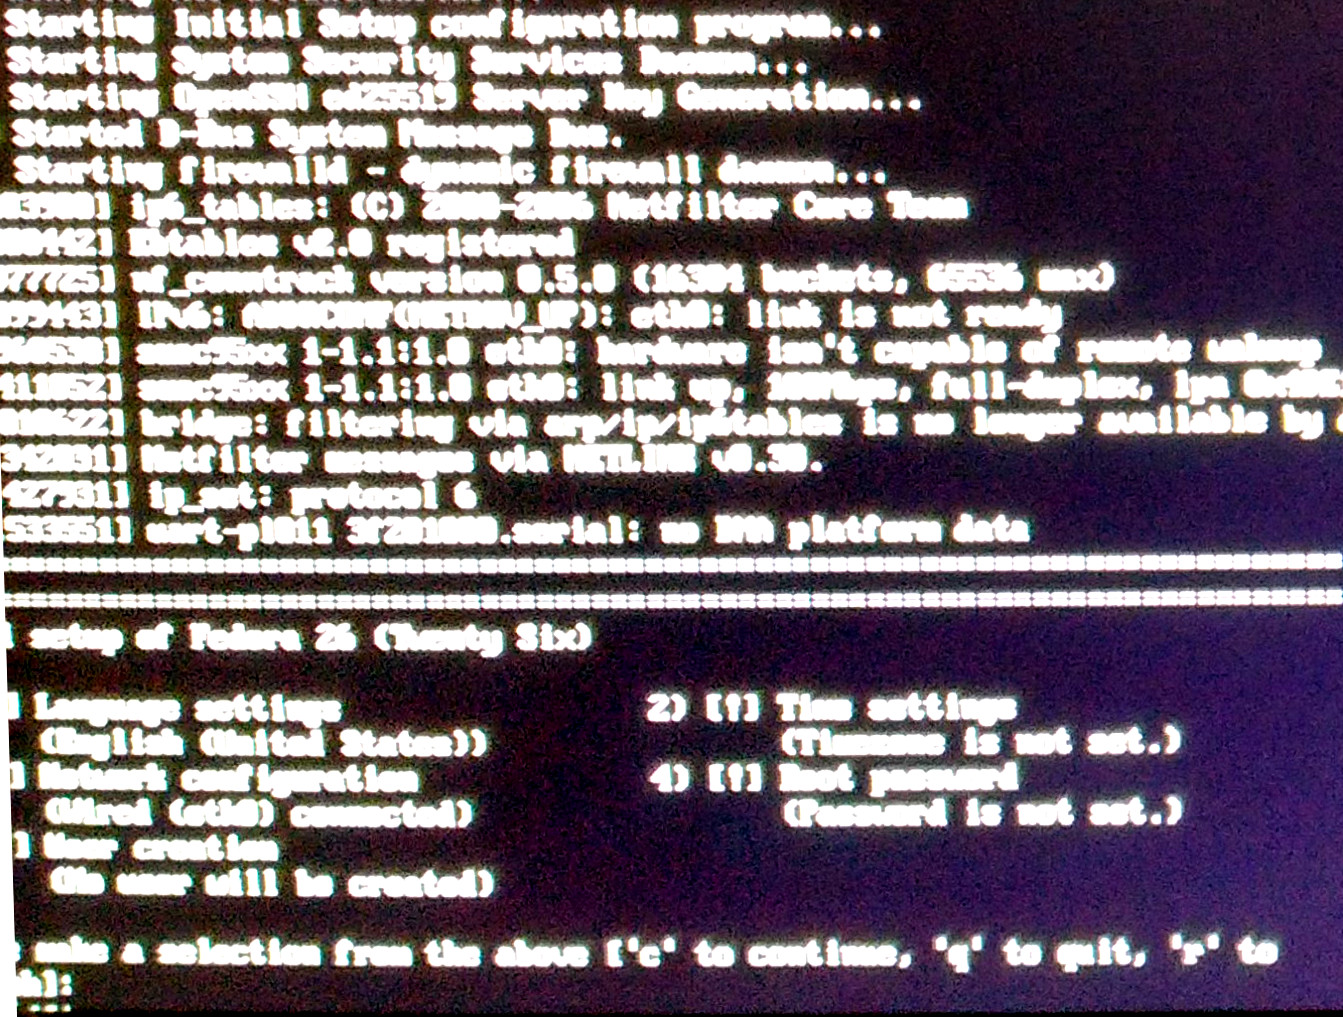
This wizard have 5 options, and each one have suboptions.
Following, I'm going to list the options:
- Language
It will show the language available to install. In my case, I choose 21, spanish. - Timezone
We can configure the timezone. Sometimes, system detect timezone automatically, if not, it can also be configured later. - Network configuration
- Set host name
We can use this option to set a host name (hostname.domain) (Ej: raspberrypi.home). Note: It doesn't work for me. - Network configuration
If we need an specific network configuration (static IP, DNS, etc), this is the option where we can set that. Usually, routers give us an automatic configuration via DHCP.
- Set host name
- Root password
It is necesary to have a "root" password, root is the superuser. - User creation
It's comfortable to create a user in the wizard, but it can be done later with "root" too.
When we finish configuring what we need/want, we only need to press c "continue", and everything is ready! The Raspberry will reboot, taking the new configuration.
Step 5: Update
Once started, we should update the system. It can be a hard work depending the memory size, and which Fedora version we're using, because maybe the free space don't be enought to download all of the update packages. If you have this problem, you should install package in a selective way for replace old files with updated files, and keep space for other packages later.
For updating all the system, we should use the command:
# dnf update
If we fall in the problem of the free space, we can take a look at the packages to be installed/updated with the previous command, and execute the command for installing/updating a specific package, for example:
# dnf update curl
Or we can do it with more than one package, as following:
# dnf update curl libcurl
Step 6: Now is your turn!
This was a little guide to install Fedora Minimal, so is, until now, just the command line interface and some utils.
You can try with other Fedora versions, or install in Fedora Minimal your favorite Desktop Environment via DNF; I will install i3wm, or sway, and install what I need when needed.
I'm going to write a guide to install i3wm or sway soon, for you to continue with this.