![]() I stored most of my files on my desktop computer, other files were saved on my notebook, it had less space, and others automatically synchronized with Dropbox, It ended when I change the notebook, and now, the new notebook has more space than the desktop computer, but storing everything in the notebook is dangerous and unsafe, so I just want to make the data in the 2 computers.There are different alternatives for automatic synchronization (most of them are pay), in my case, I decided to use UNISON, a multiplatform application that allows the synchronization between two host, or also between two local directories.Synchronize means “Make matching in time two or more movements or phenomena.”, therefore, that is exactly what Unison makes, the changes are propagated bidirectionally, it mean, files that are on the host “a” and are not in the host “b”, are copied, and vice versa; Also, it compares file dates to detect, obviously, which is more recent.Unison, as mentioned above, allows synchronization between local directories, and between different hosts using SSH (Secure Shell), RSH (Remote Shell) and TCP (por Socket). As SSH is the safest method, is the one I chose to operate , and we will use in this simple guide.
I stored most of my files on my desktop computer, other files were saved on my notebook, it had less space, and others automatically synchronized with Dropbox, It ended when I change the notebook, and now, the new notebook has more space than the desktop computer, but storing everything in the notebook is dangerous and unsafe, so I just want to make the data in the 2 computers.There are different alternatives for automatic synchronization (most of them are pay), in my case, I decided to use UNISON, a multiplatform application that allows the synchronization between two host, or also between two local directories.Synchronize means “Make matching in time two or more movements or phenomena.”, therefore, that is exactly what Unison makes, the changes are propagated bidirectionally, it mean, files that are on the host “a” and are not in the host “b”, are copied, and vice versa; Also, it compares file dates to detect, obviously, which is more recent.Unison, as mentioned above, allows synchronization between local directories, and between different hosts using SSH (Secure Shell), RSH (Remote Shell) and TCP (por Socket). As SSH is the safest method, is the one I chose to operate , and we will use in this simple guide.
-
Installing UNISON
Unison is in Fedora repositories, so, installing it is just using the following command:
su -c ‘yum install unison’ -
Creating Sinchronization profiles
Unison works with profiles, which are configured to specify which directories are going to be synchronized.-
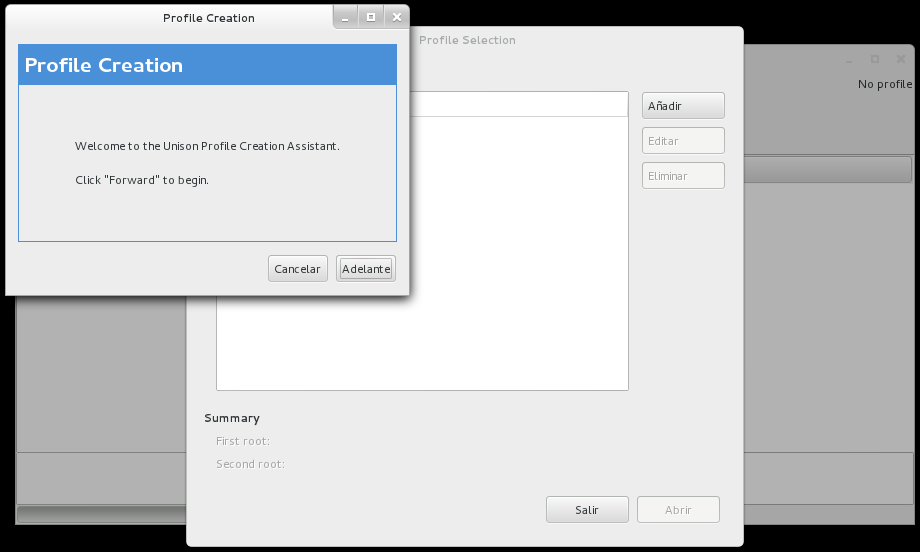
We execute Unison, now I can’t remember if the first time it automatically ran the profile wizard to add a profile, if not, click the “Add” button to start the creation wizard.
-
On the first screen, which is just an introduction, click on “Forward”.
-
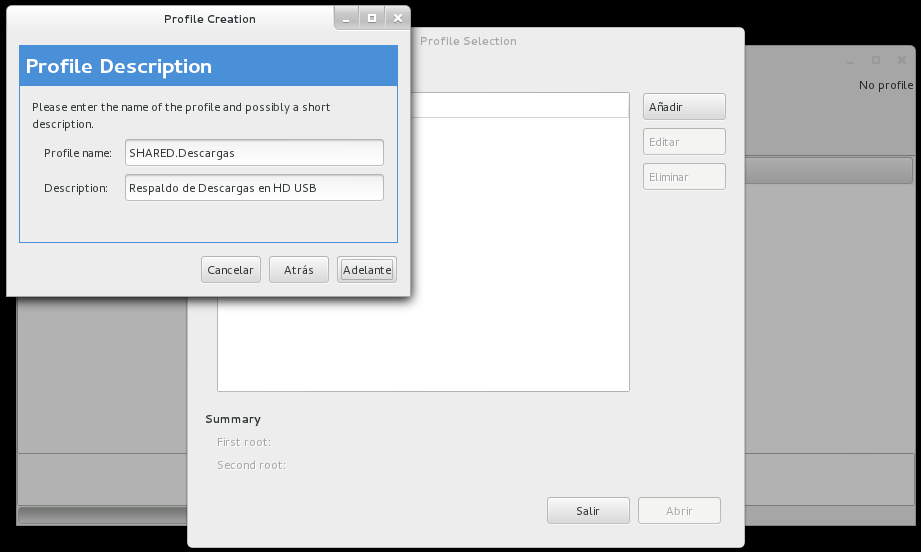
Then, it ask us to complete the profile name and description. We complete and give next.
-
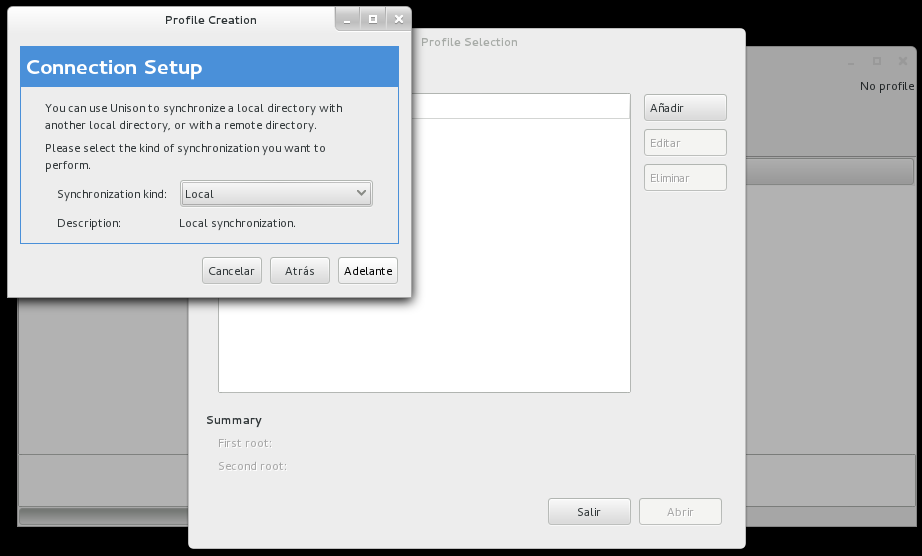
Then, it asks us to select the connection type, where we can choose Local, SSH, RSH and TCP.
-
Local Sinchronization profiles
-
We follow the steps above, now select “Local” from the list of connection types and give “forward”.
-
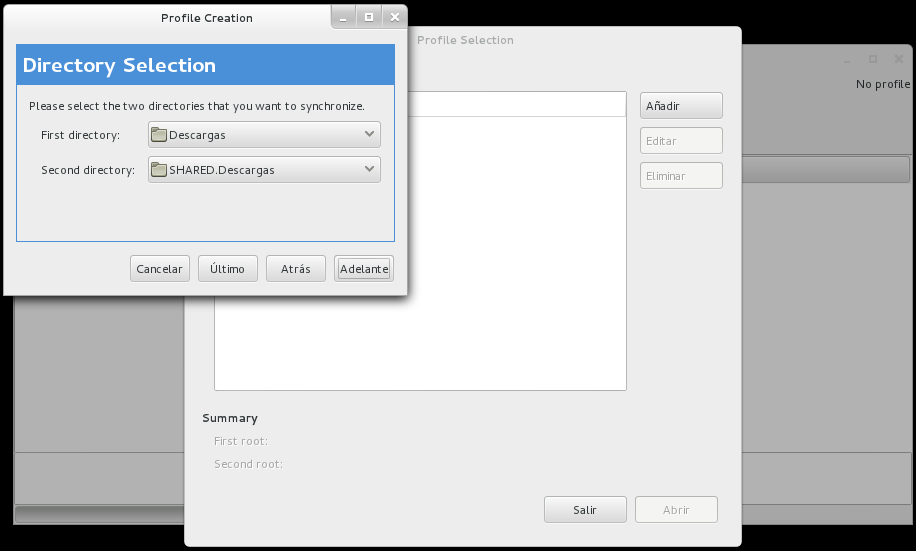
Below, we declare the directories involved in the synchronization, when complete, give “Forward”.
-
In my case, I’m going to synchronize directories that are on NTFS partitions, therefore, I check the box to set the profile to work without using the GNU/Linux permissions.

-
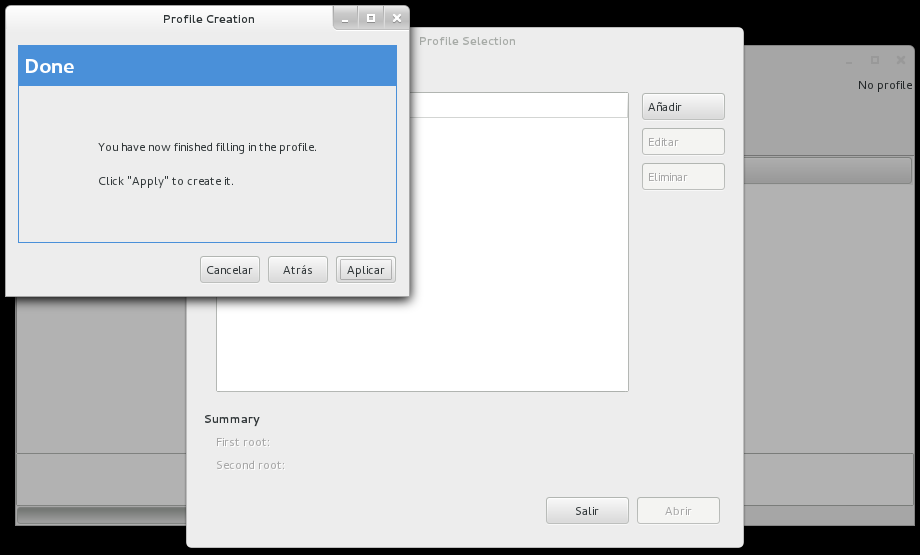
Finally, Unison report that it finished configuring the profile, and we press “Apply” to create it.
-
-
Remote SSH Synchronization Profile
-
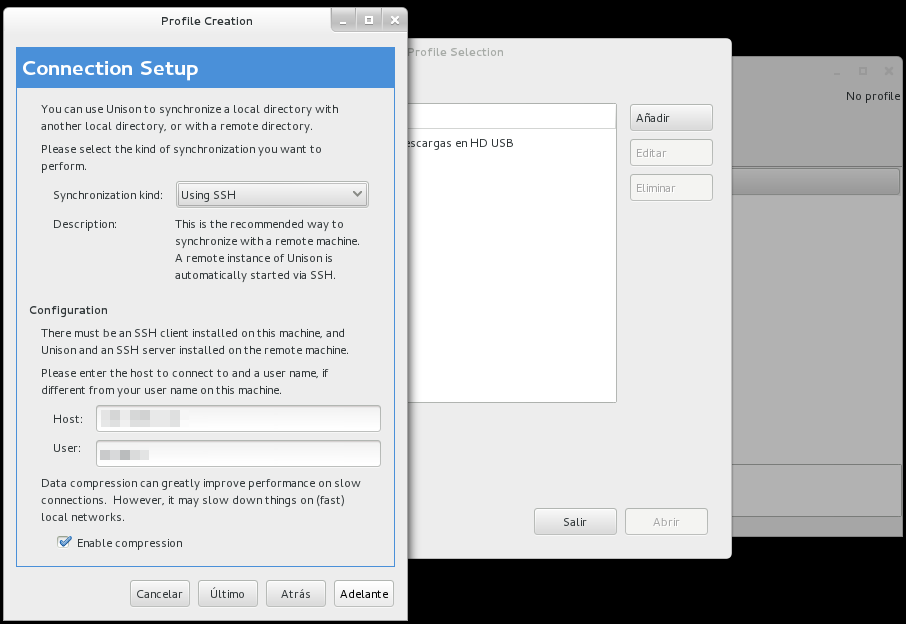
We follow the steps above, now select “SSH” from the list of connection types, the contents of the window will be extended and now we be asked to introduce the host, which can be the name or IP address of the computer to which we want to connect, and the username that we will use to log into the host.
Also, we can activate a checkbox to let Unison compress the files to be sent, as you can read at the window, is good for slow connections, but make fast connections more slower.
After setting this, give next.
-
Then, we set the directories that we will synchronize. We can select the Local directory, the remote directory should be written, so it is necessary to know first the name of the directory. You can confirm this by doing a SSH connection with a console.
After that, click on “Forward”.

-
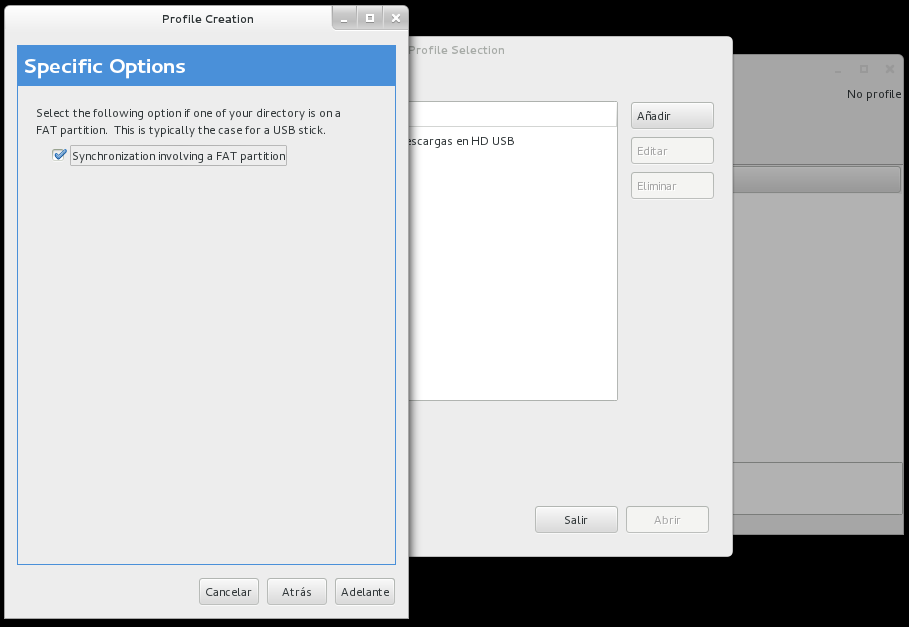
As in the previous example, where we done a Local Synchronization, we can set the profile to work with NTFS or FAT, or rather, to exclude the treatment of file permissions that GNU / Linux uses. In my case, I use NTFS partitions in sync, so I active the checkbox.
-
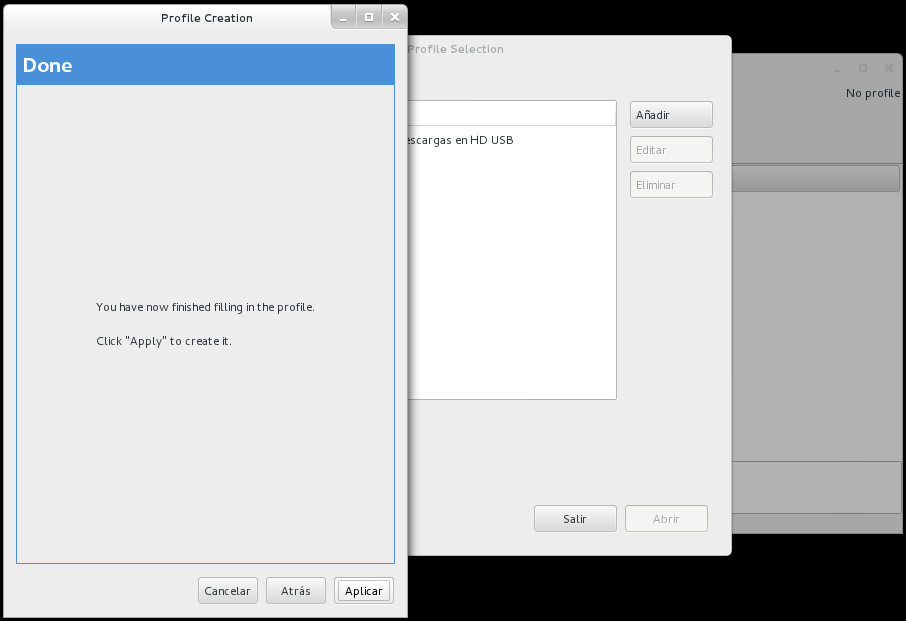
Then just press “Apply” and it’s ready, we ended setting the profile.
-
-
-
-
Performing a Synchronization.
-
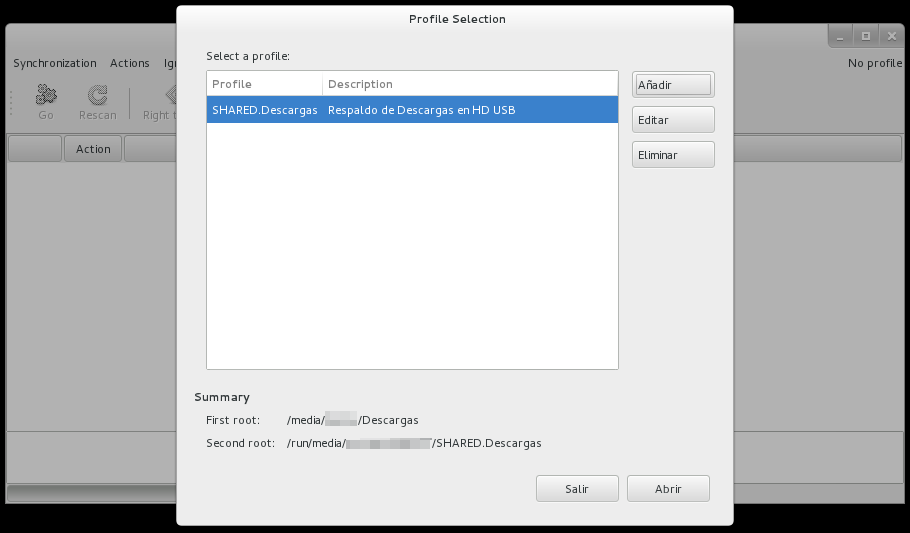
Execute a synchronization profile, selecting it from the list and clicking on “Open”.
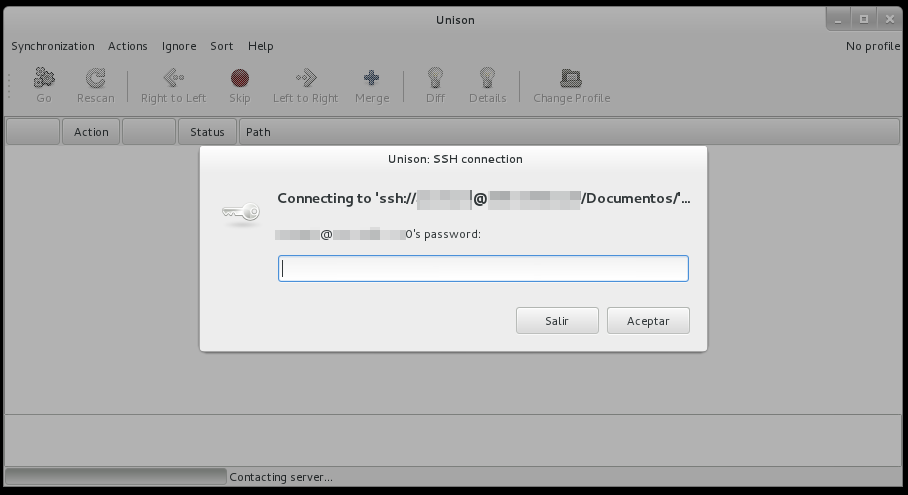
When opening one of the profiles created to synchronize via SSHwe will be asked for a password to login.
-
When we did the first synchronization, it shows a window like this, which explains that there are no historical records of synchronizations, and that this is because, or synchronizations have not been performed yet, or we’ve updated the version of Unison and this one does not recognize the historical files; Wherefore, Unison assumes that the historical record is completely empty.
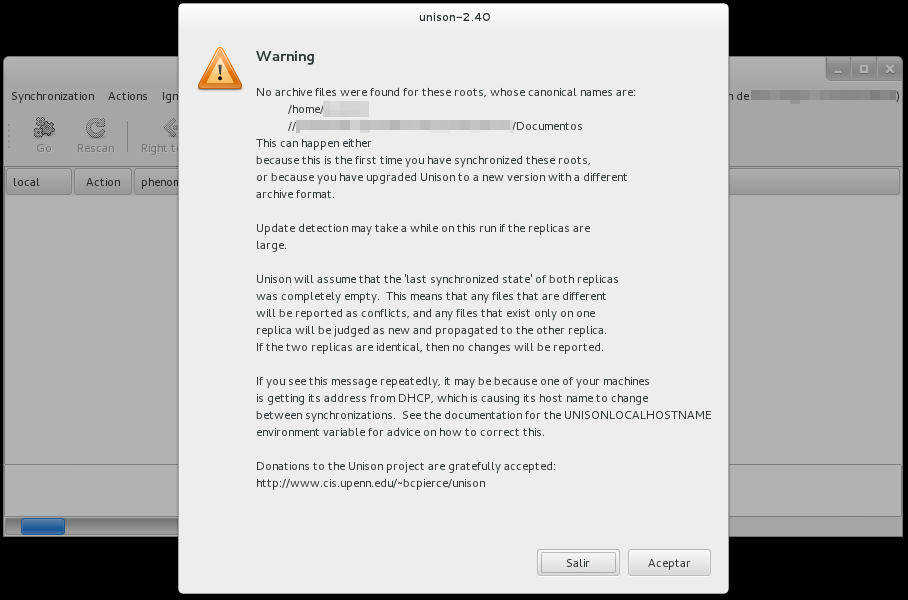
The first time you perform synchronizations, this process takes too long. -
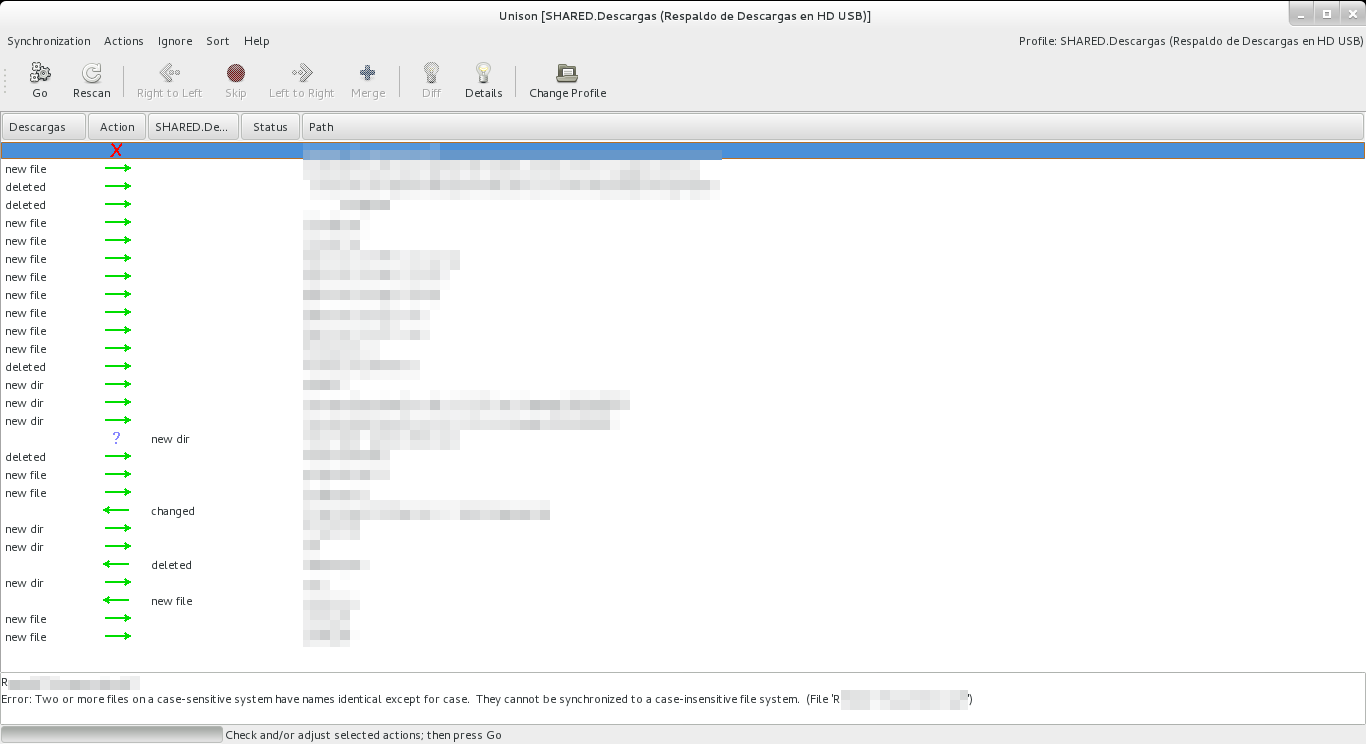
After the comparison, Unison generates a list, which automatically adjusted the changes to make, which we can modify.
We review the shifts to be performed, we can skip changes (which ignores the row, it make no changes), and choose the replacement and copying in both directions.
-
Once we checked the changes to make, press the “Go” button, and Unison start syncing.
-
After finishing copying files, a window will appear reporting that the synchronization finished, and a short summary, which we can extend.
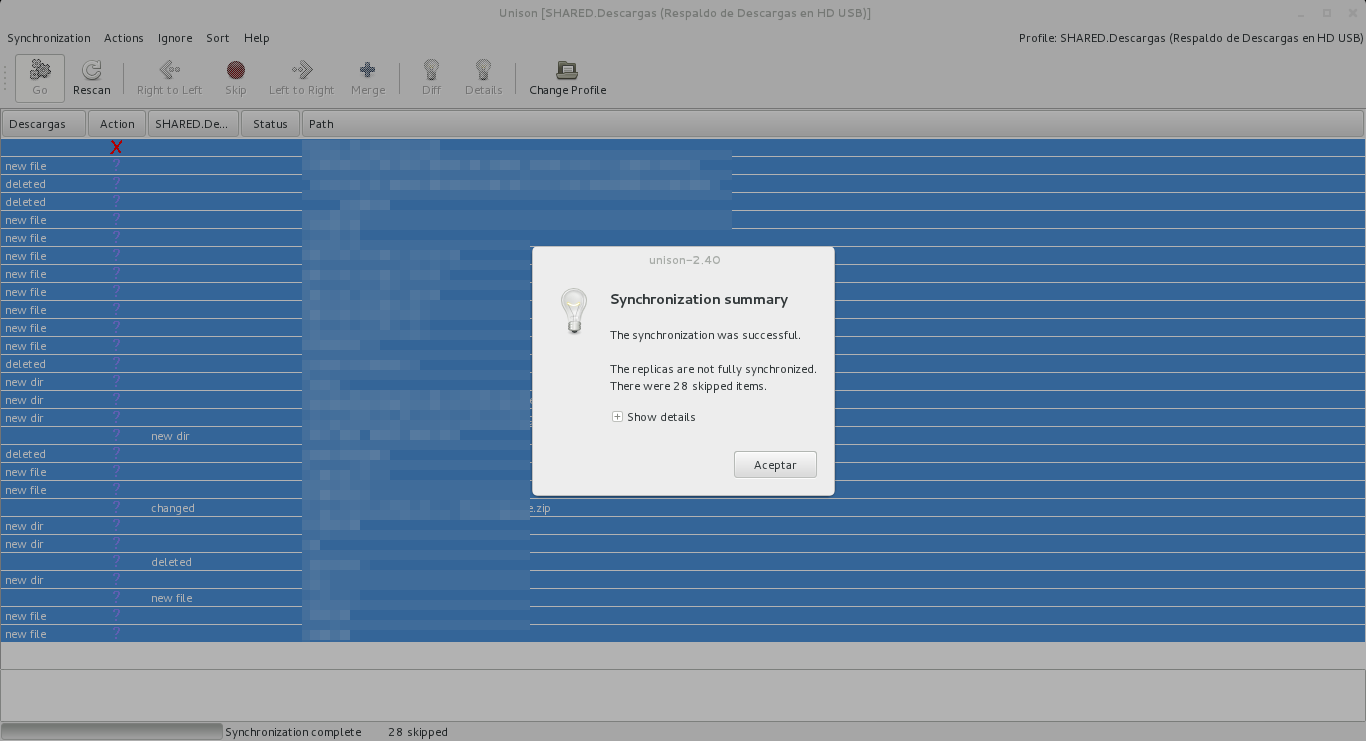
-
This is the simply way to use Unison; If a profile have a first run done, the point 3.2 end faster.
An important point to note is that Unison must be installed on both devices, if synchronization is performed remotely.
n this guide we work with Unison with graphical environment, but also can be used with a console (I am considering using Unison from the command line with “cron” for automating synchronizations and backups).
I hope it has served.
regards